How to Cut Flower Stems
When your stems first arrive in their box on your doorstep, they may look a little sleepy from their travels, Plus, they arrive in bud and have only been just plucked from the fields by our trusted growers. Fret not though, serve them a drink and they’ll perk up in no time! But before you plunge them into your vase, it’s vital that they can fully quench their thirst - and that’s where stem-cutting comes in. This is why we’ve compiled the ultimate guide on how to cut flower stems.
It's important to trim your stems, as it helps clear the way so they can drink up that water to be energised and ready to bloom. How to cut stems, as soon as they arrive, is a really easy technique to ensure you can enjoy your arrangement for as long as possible.

Why Trimming Flower Stems for a Vase is Essential
First of all, it takes two-minutes to do, so really you have no excuse. But, if you need a little extra motivation, know that if you don’t, your flowers will wilt much quicker if you don’t trim them. Cutting the stems should always be your first step when arranging, as it’s one of the key ways you can extend the vase life of your arrangement. Plus, it’s just a really nice way to get to know your flowers, mindfully selecting each stem can be a therapeutic little break away from the stresses and strains of the day.
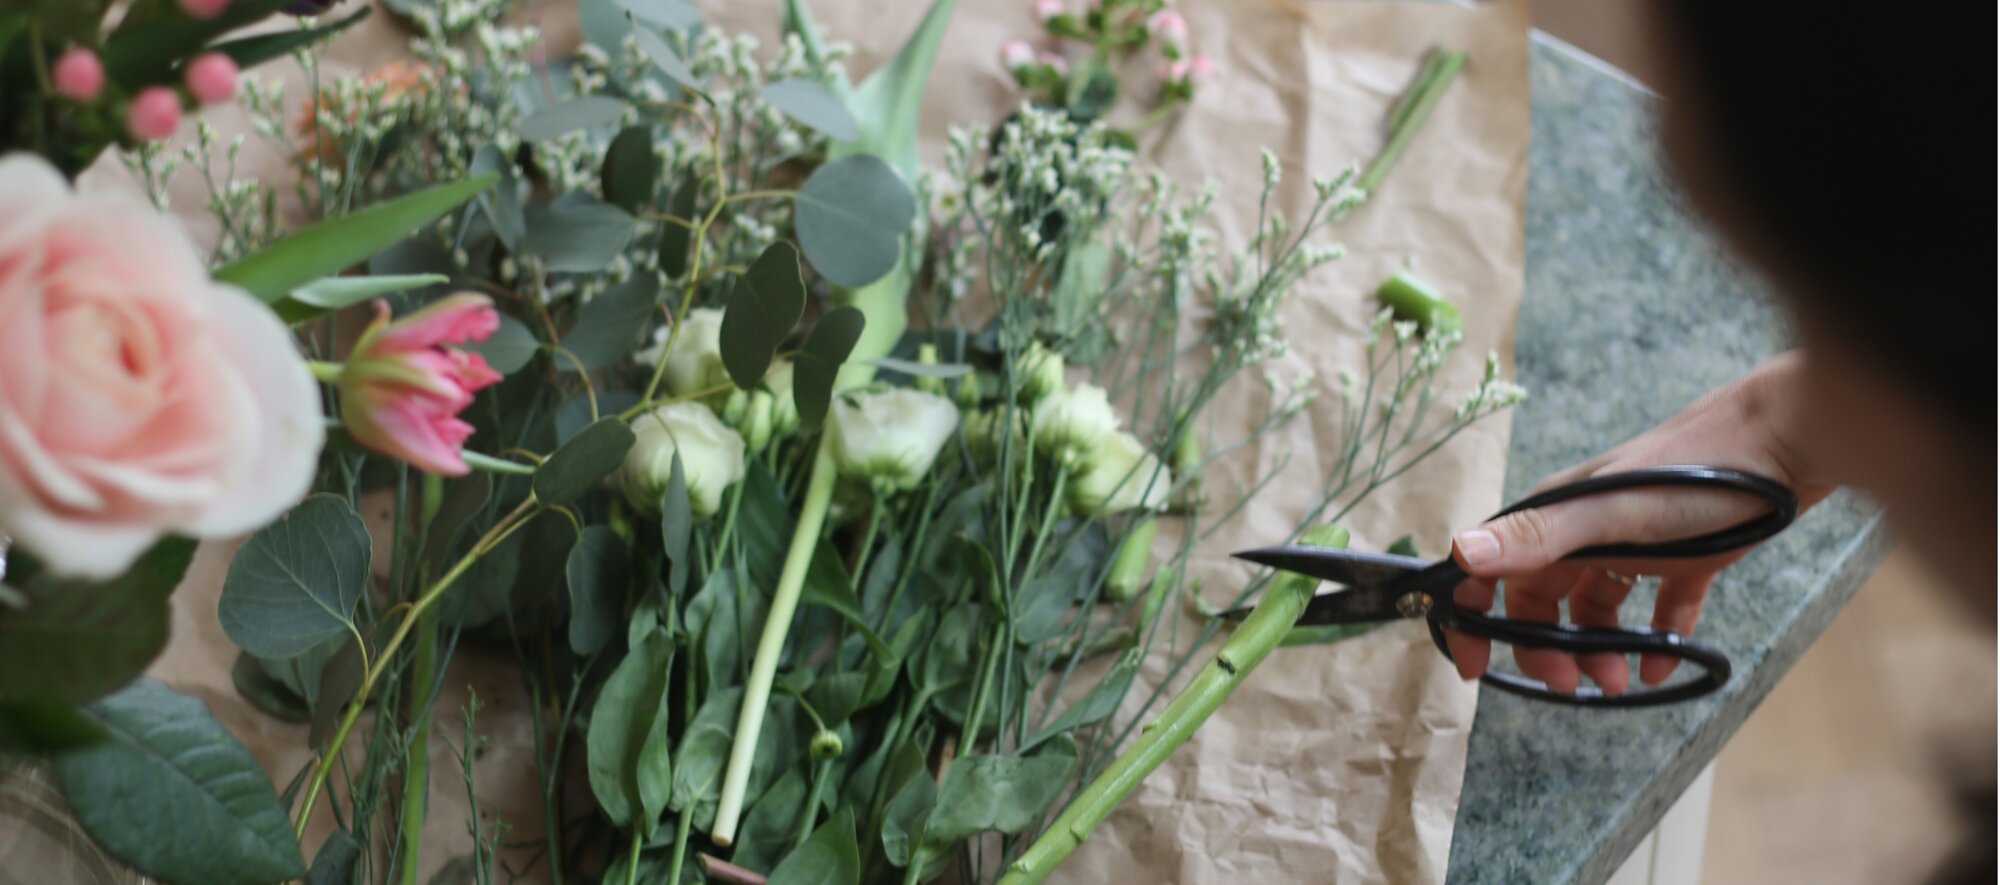
The Step-by-Step Guide: How to Cut Flower Stems like a Pro
What should I use to cut flowers?
Have you ever cut pizza using your kitchen scissors? (if you haven’t, you should… it’s a great life hack.) The point is, your kitchen scissors – even if they appear clean – are tainted with everything else you use them for. They could further block your flower stems. Plus, they’re often not sharp enough and you could end up hacking at hardier stems, causing damage.
Secateurs or a pair of specific floral scissors ensure the job is done correctly, cleanly and – most importantly – easily. There’s nothing soothing about hacking away at a stem with below par scissors.
How should I cut my stems?
Cut your flower stems with a quick, clean cut at an angle. Trim at least 1-2 inches off the bottom of the stem, cutting more as you please to adjust stem heights for your arrangement. This gives a bigger surface level for the water to travel up the stem. Flower ends can quickly become waterlogged and mushy in water, so you’ll need to re-cut every few days to stop them from drooping.
There’s a conspiracy theory (OK, conspiracy theory might be a step too far… but we do get cross at misinformation when it comes to flowers!) that if you smash the ends of tougher stems, think roses or foliage, it can help them last longer. This just isn’t true! In fact, smashing the stems will result in little bits of flower ending up in your water which, in turn, creates a bacterial breeding ground. Your flowers will drink all that muck up, instead of fresh, nourishing water, and decompose quicker.

Different cuts for different stems
How to cut flower stems is also determined by the type of stem you’re dealing with. Here’s a rough overview of the different ones you may encounter and how to treat them:
Woody & semi-woody stems:
Hollow stems:
- Examples: delphinium, molucella, and amaryllis
- Tool: secateurs or sharp flower knife (being careful not to squash)
- Cut: sharp angle
Soft stems:
- Examples: freesia, hellebore, and anemone
- Tool: sharp flower knife (being careful not to squash)
- Cut: sharp angle
Milky stems (stems that exude a milky sap):
- Examples: poppies and euphorbia
- Tool: secateurs
- Cut: cut stem end, then sear in boiling water
Hearty stems:
- Examples: celosia and statice
- Tool: secateurs
- Cut: diagonal cut; drink in lukewarm water for an hour before arranging
PRO TIP:
Chloe, our Head of Flowers, recommends searing certain stem types to prolong the vase life of your flowers. This helps to keep in their sap and prevent embolisms, which are air bubbles, in the stem from blocking water uptake.
How to sear flower stems
We usually include this tip with relevant stems on our arranging guides; in general, it’s tall or hollow stems that can quickly become floppy in a vase where this technique is useful. Examples where it’s beneficial include: poppies, butterfly ranunculus, and hellebores.
After you’ve made your initial trim, simply pop the ends of the stem (the bottom 1-2 inches) into boiling water for about 30 seconds. That’ll do the trick!

How to make flowers last longer in a vase
The best way to ensure you’re giving your flowers the longest vase life, is to refresh the vase and recut the stems. This means taking out your flowers, washing out and cleaning your vase, then refilling it with fresh water and more flower food, while trimming a bit more off your stems before popping them back in. Re-cutting ensures nothing is blocking the xylem - the tissue in the plant which transports water and minerals up to the flowers - and the flower receives hydration. Keeping your arrangement in a cooler place out of direct sunlight will also aid in making your flowers last longer.
How often should I cut my flower stems?
The best way to re-cut flower stems is to trim them every three days, at the same time as you change your water and add in more flower food. This stops them getting gunky so they’ll last longer. Of course, that means that – over time – your stems get shorter and shorter. But then you can switch to smaller vases and dot flowers around the house, which almost makes you feel like you’ve got lots of smaller, brand new flower arrangements.
Freddie's top tip for cutting peonies
Peonies are so pretty and extra special as they need a little more attention at the stem trimming stage… we recommend dipping the flower heads in warm water. Why? It removes any sap that could prevent them from opening faster. After that, give their head a gentle tap on the table, so they open themselves up to you. In our 'Everything You Need to Know About Peonies' blog, you'll also get extra insights into their history, stunning varieties, and expert care tips.